Fresh Water Fly
now browsing by category
Posted by: Ian Cox | on January 9, 2014
The Regulation Of Trout
Introduction
The context that currently applies to the regulation of trout in this country is one of revolutionary change. I say so because the mind-set and vision that informs decisions around trout today cannot be more different than that which applied say 30 years ago.
- 30 years ago trout were a protected species enjoying significant government support.
- Now in law at least they are condemned as invasive aliens and must either be eradicated or controlled for that purpose.
Posted in Fresh Water Fly, Informational, Trout | No Comments »
Posted by: Warren Prior | on August 27, 2013
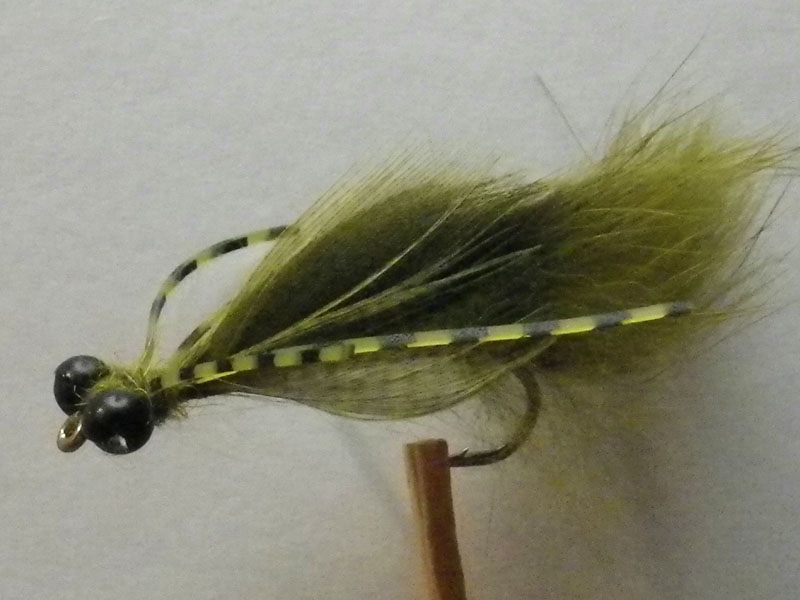
Kamberg Nymph
Posted in Bass, Fly Tying, Fresh Water Fly, Trout | No Comments »
Posted by: Warren Prior | on August 5, 2013
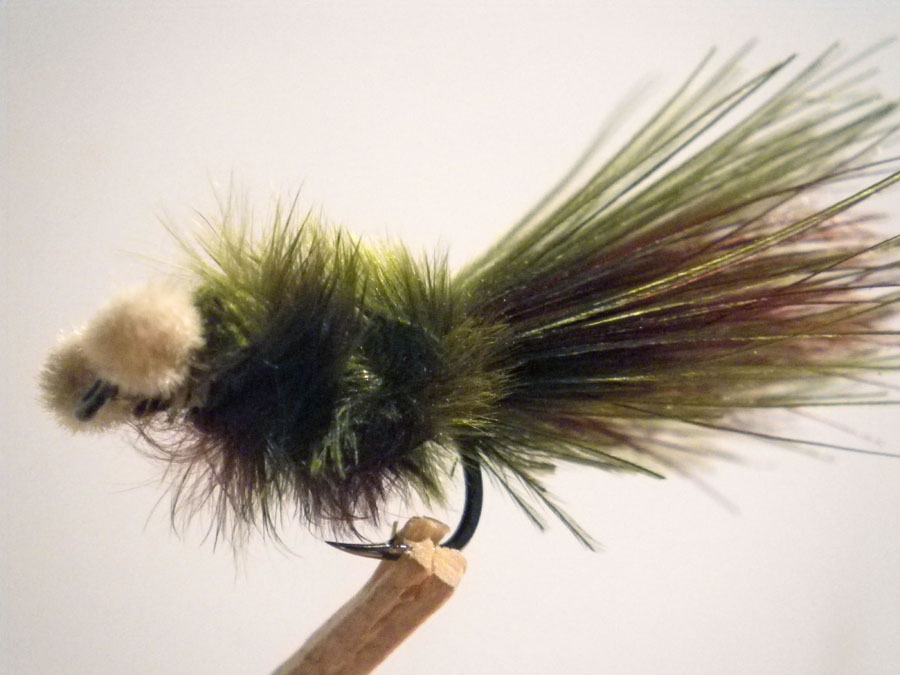
Papa Roach
Posted in Bass, Fly Tying, Fresh Water Fly, Trout | No Comments »
Posted by: Warren Prior | on July 3, 2013
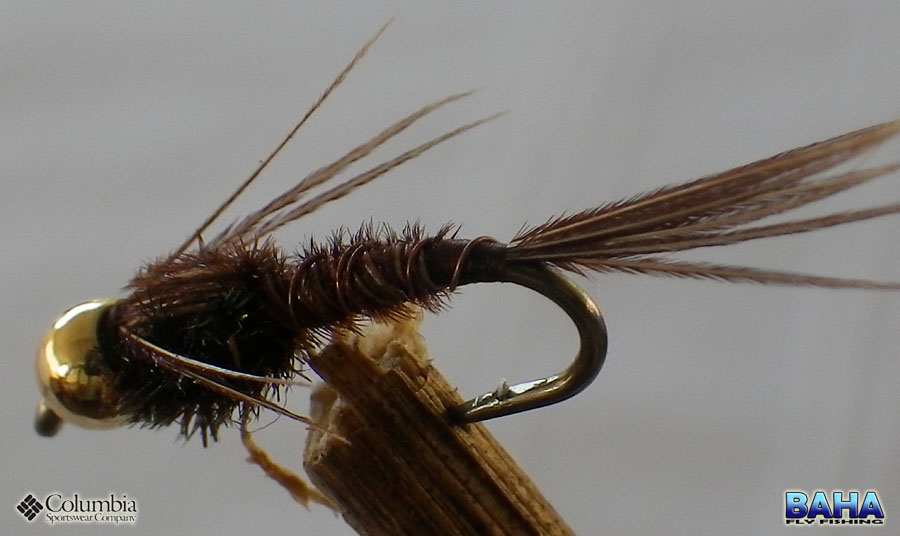
The PTN
Posted in Fly Tying, Fresh Water Fly, Trout, Yellowfish | No Comments »
Posted by: Warren Prior | on July 2, 2013
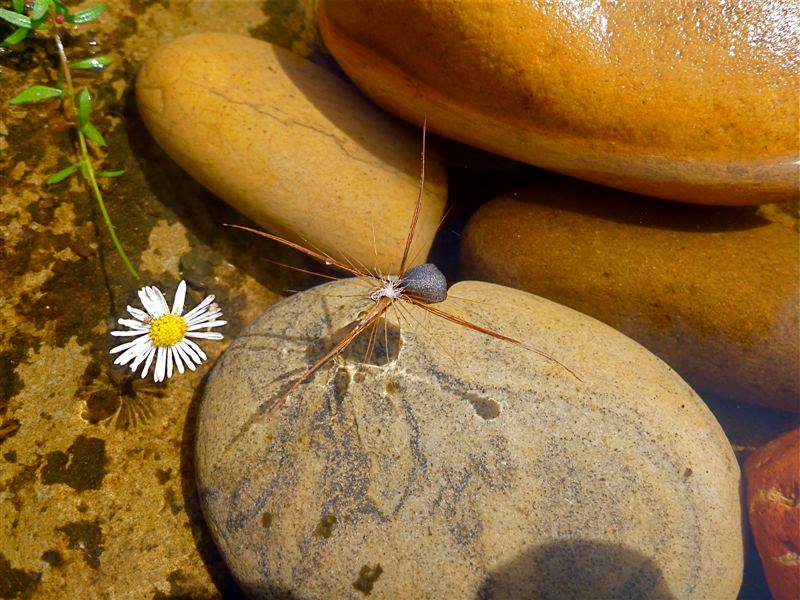
Peter Brigg’s Wolf Spider
Posted in Fly Tying, Fresh Water Fly, Trout | No Comments »
Posted by: admin | on October 22, 2012
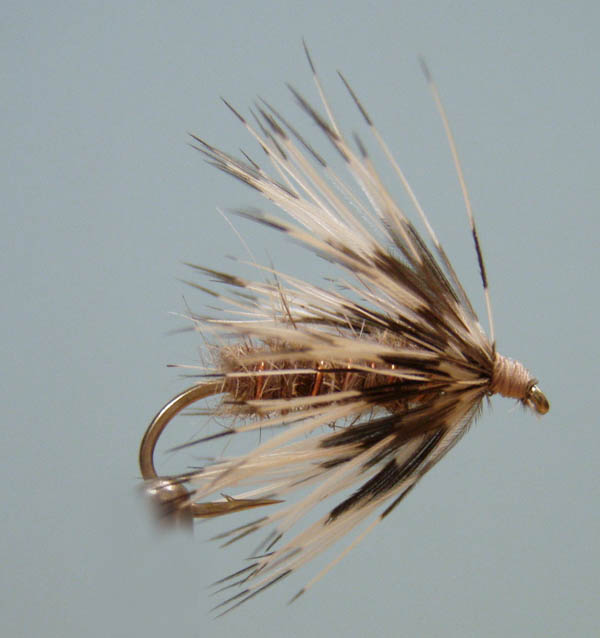
Traditional Soft Hackle
Traditional Soft Hackle |
|
|
|
|
Materials |
|
| Hook | Wet Fly #10 to #18 |
| Thread | 6/0 or finer (colour of choice) |
| Rib | Copper wire |
| Body | Natural Dubbing Colour of choice |
| Wing | Partridge Pheasant or hen Hackle |
Tying Instructions |
|
| 1) Dress shank down to above the barb.
2) Tie in the ribbing. 3) Dub the thread forming a tapered noodle. Note: When viewing from the top the dubbing should be twisted in a clockwise direction to prevent unwinding as it is wrapped around the hook shank. (reverse for Left Handed) 4) Wrap the dubbing forward forming a tapered body. Leave enough room for the hackle and head. 5) Wrap the Ribbing forward through the body in the opposite direction. Tie off. 6) Prepare the feather by clamping the tip in hackle pliers. Then (with the small finger of the right hand in the hackle pliers loop and the left hand holding the feather taught) with the shiny side up using the thumb and fore finger of the right hand stroke the fibres down and back. Repeat the process until the fibres on both side of the quill are against each other. 7) Remove hackle pliers from the feather and tie the prepared feather in by the tip with fibres facing back and the quill vertical. 8) Now wrap the feather in 3 or 4 close wound wraps forward toward the hook eye and tie off. 9) Form a neat thread head, whip finish and varnish. |
|
Posted in Fly Tying, Fresh Water Fly, Trout | No Comments »
Posted by: Warren Prior | on October 22, 2012
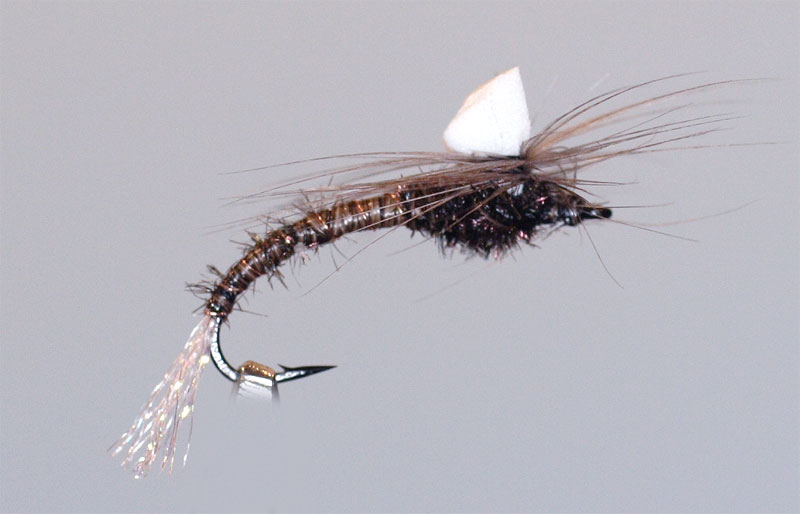
Klinkhammer Variant
Klinkhammer Variant |
|
A trout fly variation tied by Peter Brigg. |
|
|
|
|
Materials |
|
| Hook | Partridge 15BNX ‘Klinkhamer Extreme’ 12-16 |
| Thread | Black 6/0 or finer |
| Shuck | Antron fibres or stretched slingwrap film |
| Body | Stripped Peacock Hurl |
| Rib | Fine Copper Wire |
| Wing | Closed cell foam and hackle |
| Thorax | Peacock Hurl |
Tying Instructions |
|
| 1) Dress the hook shank with thread.2) Tie in the thin strip of foam on top of the hook about 1/3 back from the eye. Secure with fig of 8 wraps and then wrap around base above hook and fold upward to form a wing post.
3) Tie in the strands of antron at the bend of the hook to form the shuck. 4) At the same point tie in the rib and the stripped peacock hurl. 5) Wrap the hurl forward to behind the wing forming a tapered body and tie off. 6) Wrap the rib in even turns to the same point and tie off. 7) Tie in the hackle butt end under the wing and bend at 90 deg. so it is pointing toward you. 8) Tie one or two strands peacock hurl under wing and wrap behind and in front to form a neat thorax. Tie off. 9)Wrap the hackle around the base of the foam wing, tie off and form a small head with the thread. Whip finish and cement if desired. 10) Trim the foam wing to shape. |
|
Posted in Fly Tying, Fresh Water Fly, Trout | No Comments »
Posted by: admin | on October 22, 2012
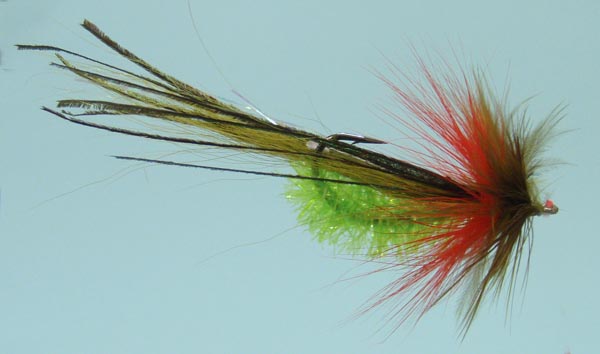
Backwater Bass Bent Back
Backwater Bass Bent Back |
|
|
|
|
Materials |
|
| Hook | Stinger 2/0 or bigger |
| Thread | Red or Olive 3/0 |
| Flash | Of Choice |
| Body | Chartreuse Cactus Chenille |
| Tail | Olive Buck tail and Peacock Hurl |
| Head | Red and Olive Hackle |
Tying Instructions |
|
| 1) Prepare the hook by putting in a slight bend about 1/3 from eye. Bend just enough to get the hook to swim point up.
2) Starting right from within the bend of the hook wrap the cactus chenille forward to the bend and tie off. 3) Tie in a clump of buck tail on top of the shank at the bend. (hook point up). This must extend beyond the hook and also acts as a weed guard by protecting the hook point. 4) Tie in some flash above the buck tail. This can be slightly longer than the buck tail.. 5) Top of with 5 or 6 peacock hurls. 6) Just ahead of the Buck tail tie in a red hackle buy the base, curved side down and wrap forward in tight turns forming a neat collar. 7) Just in front of the red repeat with an Olive hackle. 8) Form a neat thread head, whip finish and cement. |
|
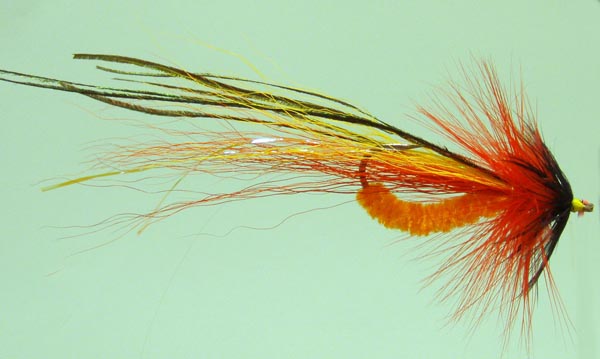
Variation |
|
|
|
|
Posted in Bass, Fly Tying, Fresh Water Fly | No Comments »
Posted by: Warren Prior | on October 22, 2012
No Name Nymph
No Name Nymph |
|
This fly designed by Roger Baert was tied for us at the July 2007 meeting by Paul Leisegang |
|
|
|
|
Materials |
|
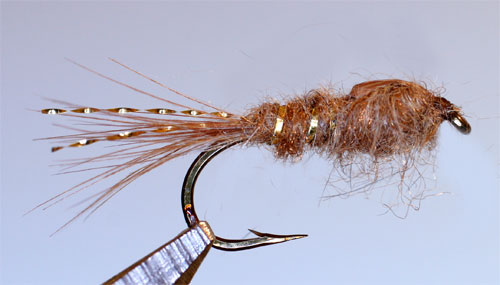
| Hook | Nymph #10 to #6 |
| Thread | Brown or Black 6/0 |
| Tail | Cock Hackle Short and Krystal Flash |
| Body | Short fibre synthetic Dubbing such as Antron (Sparse) |
| Rib | Gold Oval Tinsel |
| Thorax | Same as body (Heavier Application) |
| Wing Case | Swiss Straw – Raffia |
| Legs | Pick out underside of Thorax |
| Weight | Can be weighted with a few turns of lead if required. |
Tying Instructions |
|
| If Required wrap 5 or 6 turns of lead around shank and position leading edge just under 1/2 way down shank.Dress the hook with tying thread to above the barb.Tie in a small bunch of the cock hackle for the tail at this point with a strand of krystal flash either side.Tie in the gold rib and clip into the material holder.
Lightly apply tack to the thread and touch the dubbing lightly to the thread. DO NOT OVER DUB. Now roll the dubbing onto the thread and wind up to about 2/3 from hook eye leaving space for thorax and head. Wrap the gold tinsel forward to this point and tie off . Tie in the raffia pointing back. Dub the thread more heavily this time and wrap forward forming the thorax. This should be fatter than the rear body section. Leave enough room for the head. Pull the raffia forward over the thorax to form a neat wing case and tie off. Form a small neat head with the thread and varnish with head cement. Pick out the dubbing under the thorax for the legs. |
|
Posted in Fly Tying, Fresh Water Fly, Trout | No Comments »
Posted by: Warren Prior | on October 22, 2012
Polish Nymph
Polish Nymph |
|
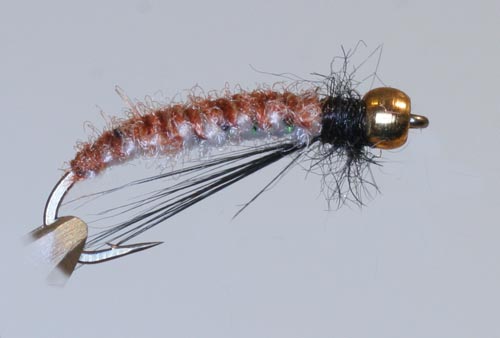
Fly tied by Jay Smit at the April 2007 meeting |
|
|
|
|
Materials |
|
| Hook | 3x curved nymph #10 – 14 |
| Thread | Hyperfine black or any suitable fine thread |
| Head | Brass Bead |
| Upper Body | Use rubber legs |
| Body | Two colours of thin wool or Fine Dubbed thread |
| Rib | Optional Clear Mono |
| Legs | Black Hackle |
| Thorax | Fine Rabbit |
| Weight | 6 turns Siman square lead (size dependant on weighting required) |
Tying Instructions |
|
| Wrap 6 turns of square lead around shank and position leading edge 1/2 way down shank. Leave about 1 to 2 mm gap between lead and bead.Using 3/0 or heavier floss form wrap around lead forming a tapered body and tie off.Using a pair of pliers gently flatten the body in a horizontal plane.
Using the 6/0 thread tie in a rubber leg by its tip on the left side of the body nearest the head. Tie in all along the left side of the body and secure just behind the tapered body formed earlier. Snip off the excess leg and repeat on the right side of the body. Tie in one of the wool threads just behind the bead and tie in all along the left side of the body on top of the rubber going all the way back to behind the barb. Repeat with other colour wool on the right side of the body. Tie off the thread. The wool should be at least 150mm long. For details of the Polish weave method go to http://flyguysoutfitting.com/shuttleweave.html Invert he fly in the vice. (hook now upside down) Holding the lighter piece of wool in the left hand and the Darker in the right pull the Lighter over the body to the right, down and slightly back under your right hand. Now bring the Darker wool (Right Hand) slightly forward over the Lighter wool and down under the body and slightly up and back. Your arms should now be crossed with your right arm above the left. Now the tricky bit, keeping constant pressure on the thread bring the Lighter wool left handback over the top of the body and down under the Right hand. Push the left hand slightly back and bring the right hand toward you then down and back across to the right and slightly up always keeping constant tension on the thread. The first weave should now be complete. Repeat all the way up to just behind the bead forming a neat body with one colour on the top of the fly and the other underneath. Tie a simple knot behind the bead to prevent unraveling. Tie in the 6/0 thread just behind he knot. Enough wraps to stop the wool unraveling. Undo the knot in the wool tied earlier and clip away the excess wool in front of the thread. Tie in a small bunch of black hackle for the legs. Lightly apply tack to the thread and touch the dubbing lightly to the thread. DO NOT OVER DUB. Now wind the dubbing up to the bead forming the thorax and tie off. |
|
Posted in Fly Tying, Fresh Water Fly, Trout, Yellowfish | No Comments »

 D5 Creation